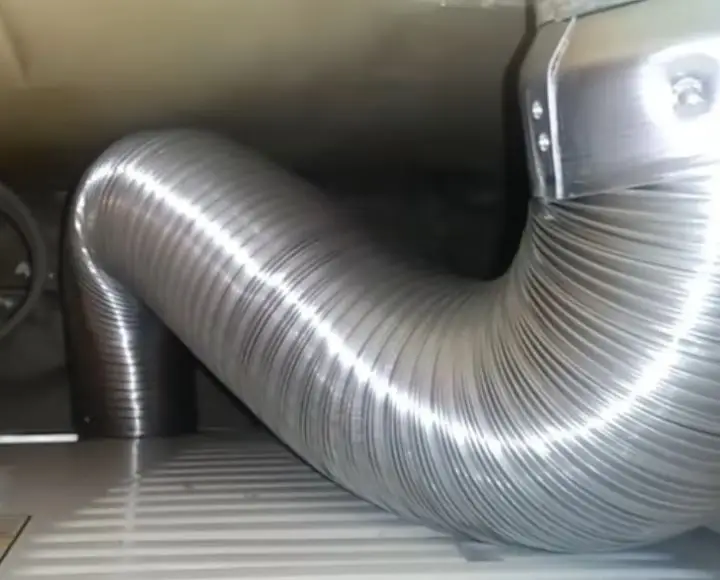
A functional and organized home is every homeowner’s dream. However, some essential elements like an exposed dryer vent hose can disrupt the aesthetics of a room. If you are dealing with the same, chances are that you are thinking of ‘how to hide dryer vent hose’.
Fortunately, there are several creative ways to hide a dryer vent hose while maintaining the functionality of your laundry area. In this article, we’ll explore various techniques such as using curtains, shelves, faux wood beams, wood panels, as well as how to make and DIY slat wood panel.
These simple solutions will help you achieve a tidy and visually appealing space, so let’s get right into it.
Behind a Curtain
One effective way to hide a dryer vent hose is by using curtains. Curtains not only add a touch of elegance to a room but also provide easy access to the hose when needed. To implement this solution, install a curtain rod above the dryer vent area.
Choose a curtain that matches your room’s decor and complements the color scheme. By keeping the curtain closed, you can effectively conceal the vent hose while maintaining a cohesive and stylish appearance.
With Shelves
Shelves can be a practical and aesthetically pleasing solution for hiding a dryer vent hose. Install a shelf above the dryer, leaving enough space to accommodate the hose. Place decorative items or storage baskets on the shelf to create a visually appealing display.
Ensure that the shelf is securely mounted, allowing easy access to the vent hose whenever maintenance is required. This way, you can cleverly disguise the hose while utilizing the shelf for both organization and decoration purposes.
Use Faux Wood Beams
Faux wood beams offer an excellent solution for concealing a dryer vent hose while adding character to your laundry area. These lightweight and affordable alternatives to real wood beams come in various styles and finishes.
To implement this technique, measure the dimensions of your space and choose a faux wood beam that complements your interior design. Install the beam over the dryer vent hose, securing it according to the manufacturer’s instructions. The faux wood beam will not only effectively hide the hose but also add a charming touch to your laundry area.
With a Slat Wood Panel
A wood panel can be an attractive and seamless way to hide a dryer vent hose. Select a wood panel that matches the style of your laundry area, whether it’s sleek and modern or rustic and traditional. Measure the dimensions of the wall surrounding the vent hose and cut the wood panel accordingly.
You then want to attach the panel securely to the wall using adhesive or screws, ensuring that it covers the vent hose completely. The wood panel will seamlessly integrate with the surrounding decor, effectively disguising the hose while adding warmth and visual appeal to the space.
How to Make a Slat Wood Panel
If you prefer a customized solution for hiding your dryer vent hose, you can create a slat wood panel, but how do you go about it? A slat wood panel consists of horizontal wooden slats evenly spaced apart and can be used as a decorative element or room divider.
To make one, start by measuring the area where you are going to install it. Purchase wooden slats from a local home improvement store, ensuring they are the desired length and thickness. Sand the slats to remove any rough edges and apply a stain or paint of your choice.
Once the slats are dry, attach them to a sturdy backing material, such as plywood or MDF, using screws or nails. Mount the panel on the wall, and voila! You have a personalized and functional solution for hiding the dryer vent hose.
How to Hang a Slat Wood Panel
Now that you have your DIY slat wood panel, how do you hang it? Here’s a step-by-step guide to help you hang a slat wood panel with ease:
Step 1 – Measure
Start by measuring the area where you intend to hang the slat wood panel. Take accurate measurements of the height and width to ensure a proper fit. Once you have the measurements, gather all the necessary materials, including the slat wood panel, a level, screws or nails, a drill or screwdriver, and a stud finder if required.
Step 2 – Find the Studs
Using a stud finder, locate the wall studs where you’ll be attaching the slat wood panel. Studs provide additional support and stability for the panel. Mark the stud locations on the wall using a pencil or masking tape.
Step 3 – Adjust the Panel
Hold the slat wood panel against the wall, aligning it with your desired position. Use a level to ensure that the panel is straight and even. Adjust as necessary until you’re satisfied with the placement.
Step 4 – Attach the Panel
Starting at the top of the panel, position it against the wall, making sure to align it with the marked stud locations. Using a drill or screwdriver, attach the panel to the studs by driving screws or nails through the slats and into the wall.
Repeat this process for each stud, working your way down the panel. Ensure that the screws or nails are securely fastened but not over-tightened, as this may cause the wood to split.
Step 5 – Realign and Secure
Once the top portion of the slat wood panel is attached, use a level to check its alignment again. Then, move to the bottom of the panel and secure it to the wall in the same manner as the top. Make sure the panel is level both horizontally and vertically before proceeding.
Step 6 – Fixing the Gap
If you’re using multiple slat wood panels to cover a larger area, you may have small gaps between the panels. To create a seamless look, measure the width of the gap and cut a slat to fit. Attach the additional slat to the wall using screws or nails, aligning it with the adjacent panels.
Step 7 – Done
At this point, you are done. Inspect the entire slat wood panel installation to ensure that it’s securely attached and level. Use a soft cloth to wipe away any dust or debris. If desired, apply a clear protective coat or stain to enhance the natural beauty of the wood and protect it from damage.