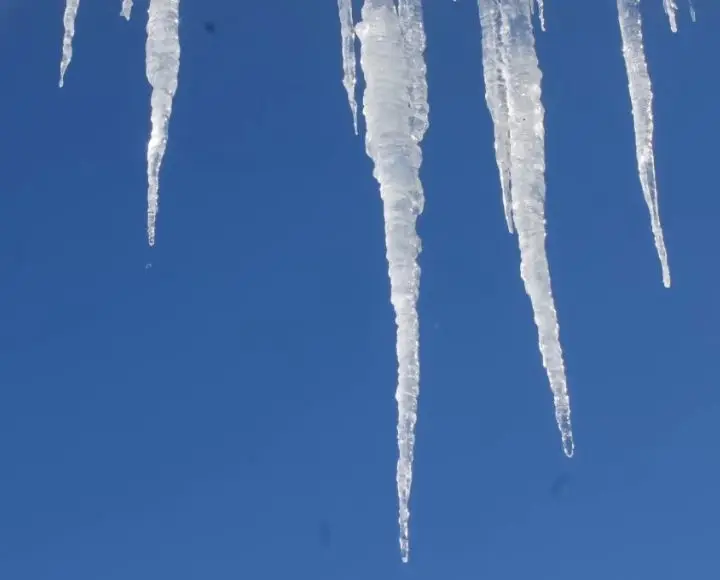
Do you have icicles forming in your freezer? Well, it’s actually more common than you might think. There are a couple of reasons why this is happening, and some steps you can take to prevent it.
Icicles in freezers form when warm, humid air contacts the freezer’s cold evaporator coils, typically during door openings. The moisture from the air freezes instantly on these coils, gradually accumulating over time to form icicles. Preventing icicles involves regular defrosting and minimizing door openings.
If you’re looking for a way to prevent icicles from forming in your freezer, keep reading. In this article, we will cover why icicles form in your freezer, how to remove the icicles, as well as how to prevent them from forming again.
Reasons Why Icicles Form in Freezers
The main reason why your freezer is forming icicles is because there’s humidity and moisture in your freezer. When the moisture freezes, that’s when the icicles form. Now this can be caused by a few things:
Leaving the Freezer Door Open for Too Long
Whenever you open the freezer door you let out the cold, leading to a slightly higher temperature in your freezer. This in turn makes some of the ice melt and causes the moisture, which in turn will freeze over again when you close the door.
If you leave the door open for too long your freezer will have melted a lot of ice, causing pools and drips of moisture.
The Freezer Door is not Sealing Properly
This is actually a common problem and something that you need to get fixed as soon as possible. Not only does the cold air slowly leak out, but your freezer also has to work overtime to keep up with the change in temperature, which uses a lot of electricity. If your freezer door is not properly sealed, your food may get spoiled as it constantly thaws and refreezes.
The reason why your freezer door is not sealing properly is that the gasket goes bad with time, and will eventually start leaking. But don’t worry, the gasket can easily be changed!
How Do I Get Rid Of Icicles In My Freezer?
The quickest way to remove icicles from your freezer is to simply scrape them out. This way you won’t have to defrost the freezer, risking your food getting spoiled. However, this fix is only temporary if you don’t locate the root cause of the problem.
If you notice icicles coming back after removing them, there might be a bigger problem with your freezer. You can try defrosting it first to see if it gets better, if not then you should consider investing in a new freezer as the evaporator coils may have gone bad.
How to Prevent Icicles from Forming in Freezer
First off, you should never let the freezer door stay open for more than a minute, as this is sure to raise the temperature, causing your food to thaw and moisture to pool up. Know what you’re going to get in the freezer, or where you have space to put food before you even open the door.
If you have drawers in your freezer, you can label each drawer. This will help you find what you are looking for a lot quicker. When you’re done, make sure you close the door properly, and give it an extra push.
If you are doing the above, and icicles are still forming in the freezer, you should investigate the gasket seal around your door. It’s not always so easy to spot a bad gasket, but you will probably see if it’s worn or not uniform.
The gasket will deform and lose its seal with time, so you should replace it every few years just to make sure the seal is perfect. A gasket is easy to replace, here’s a step-by-step list of instructions for you to follow:
- Buy a new gasket: There are a lot of different brands of freezers, but there are universal gaskets. Make sure you get the right size of the gasket before you continue to the next step.
- Remove the old gasket: First off, you have to remove the bad gasket. This is easiest done with a sharp object, as the adhesive can be hard to get off otherwise. Just be careful when you do it, you don’t want to hurt yourself or cause damage to your freezer door.
- Replace with new gasket: Simply remove the protective strip from the back of the gasket and place it securely on your freezer door. It’s important that you measure and get the exact placement the first time. If you misalign the gasket and have to remove and position it again, the adhesive will be damaged and your freezer may not seal properly.
Final Words
In conclusion, icicles forming in freezers is a common issue driven by factors like excessive humidity, prolonged door openings, and faulty door seals. While removing icicles is achievable through simple scraping, it’s crucial to address the underlying problems to prevent their reoccurrence.
You can prevent icicles from forming by being mindful of door opening durations, properly organizing the freezer, and replacing the door’s gasket. Remember, a well-maintained freezer is not just about avoiding icicles but also about preserving the quality of your stored food and energy efficiency.
